1.Methods to disable Windows Defender
Temporary method to disable Windows Defender
Press the "Start" button, type "Security", and open the "Security" window. Then press "Virus & threat protection"
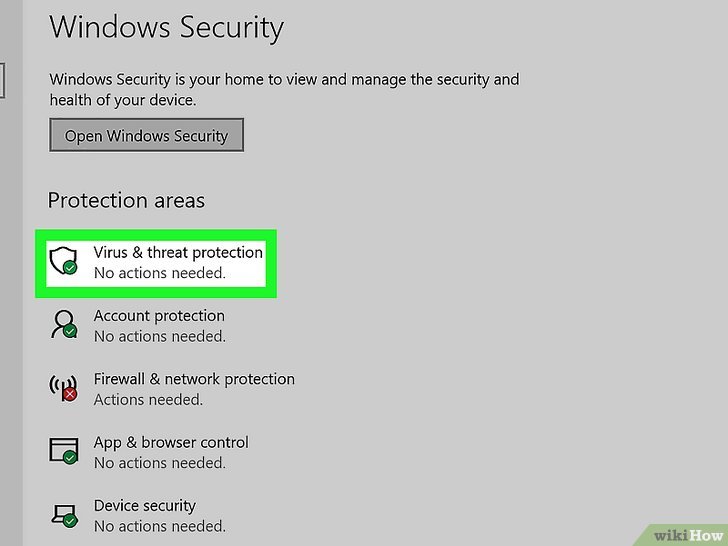
You'll find this option in the middle of the page.
Turning off real-time protection will mean your device is vulnerable until it turns back on.[1]
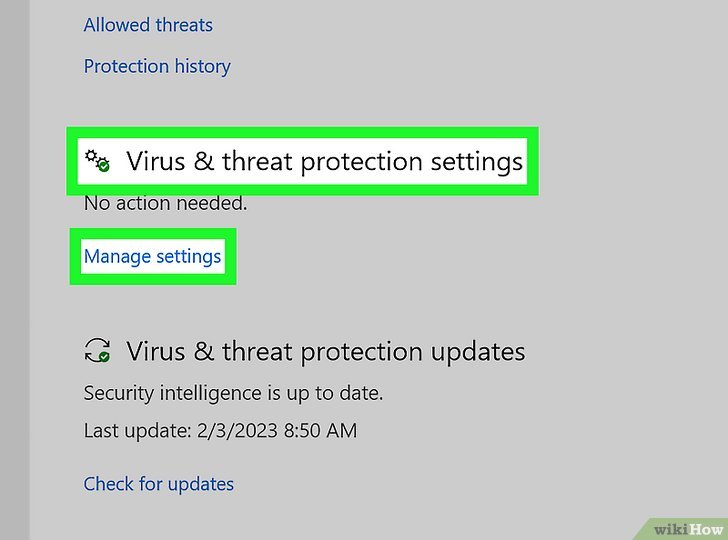
Click the blue "On" switch below the "Real-time protection" heading.
Click Yes when prompted. This will turn off the real-time scanning feature of Microsoft Defender.
You can also disable Microsoft Defender's cloud-based protection by clicking the blue "On" switch below "Cloud-delivered protection" and clicking Yes when prompted.
Windows Defender will turn itself back on the next time you restart your computer.

Permanent disabling of Windows Defender
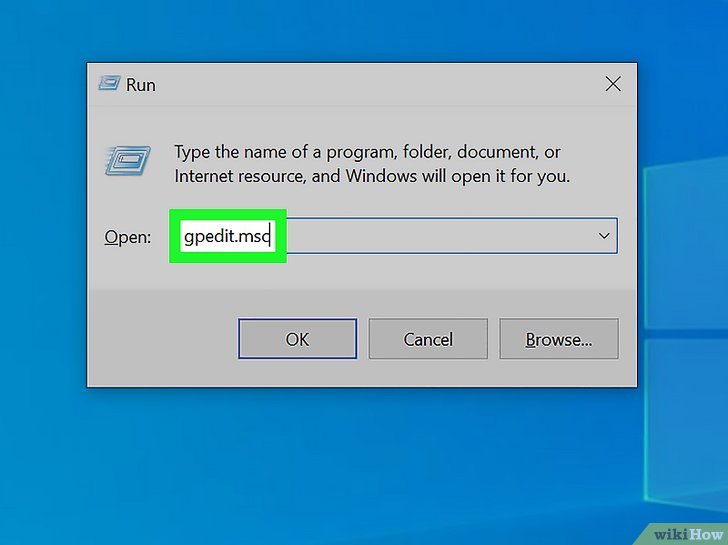
Press Win+R. The Run menu will open.
Type gpedit.msc in the Run window and press
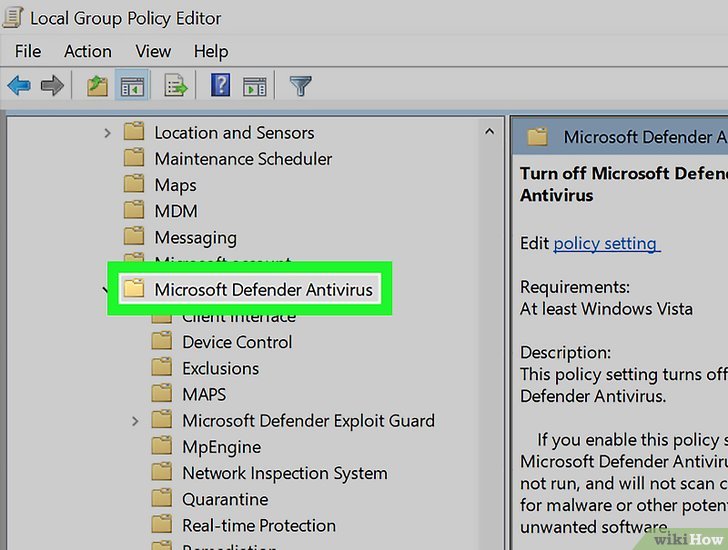
Take these steps in the Group Policy Editor to find this option:
Computer Configuration
Administrative Templates
Windows Components
Microsoft Defender Antivirus
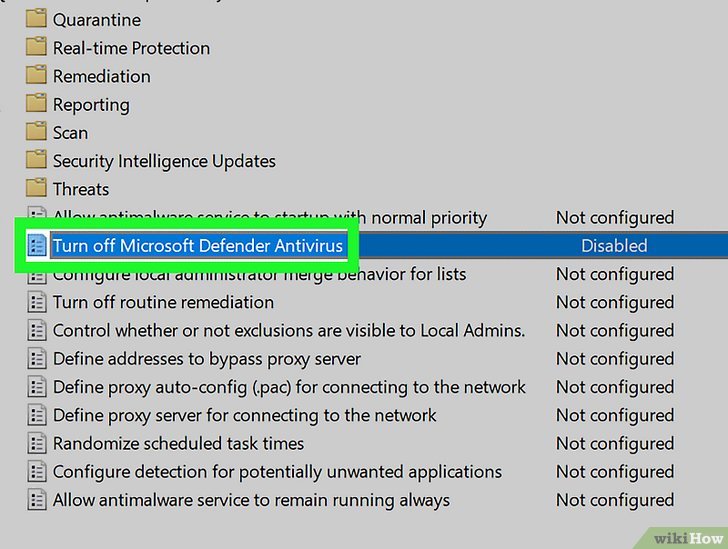
Double-click “Turn off Microsoft Defender Antivirus.”
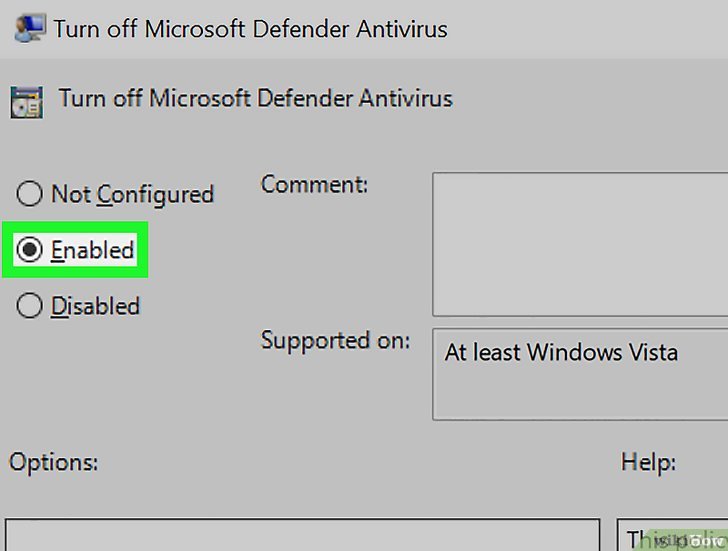
Click Enabled
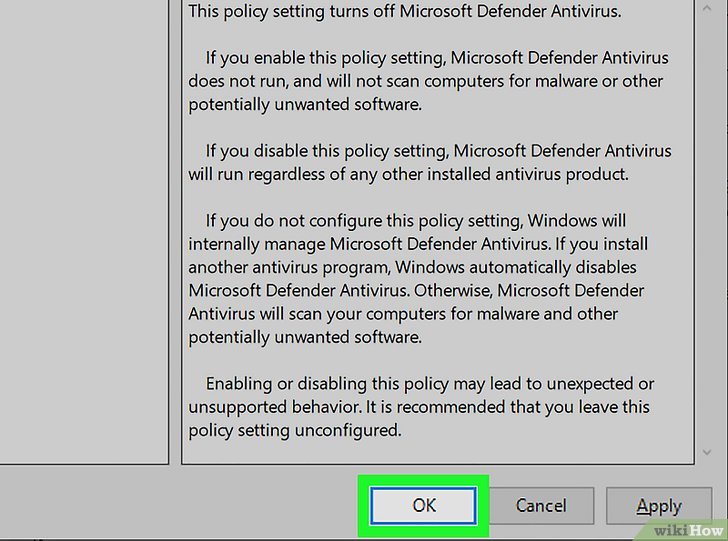
Click OK. This will confirm the choice to turn off Microsoft Defender and close the window.
You must restart your computer to turn off Microsoft Defender fully.
To reenable Defender in the future, return to the GPE and change “Turn off Microsoft Defender Antivirus” to Not Configured.
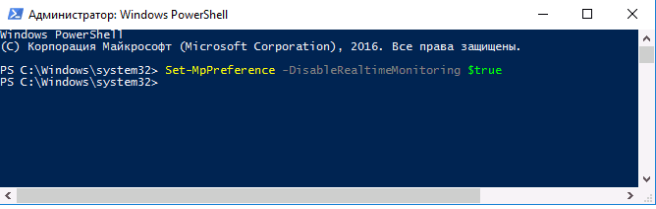
Disabling using PowerShell
In the PowerShell window, enter the command:
Set-MpPreference -DisableRealtimeMonitoring $true
2.Disabling the Firewall
On both Windows 10 and 11, you'll use the built-in Windows Security app to disable and enable the firewall. In the following steps, we use a Windows 11 PC.
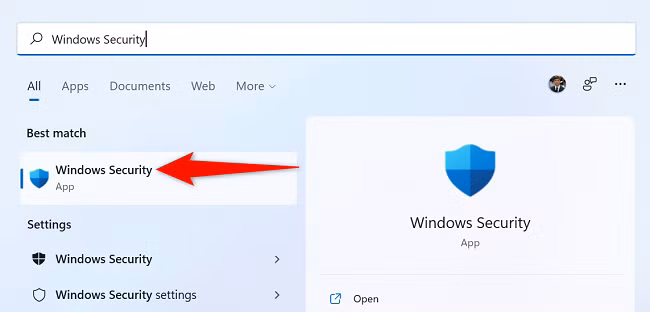
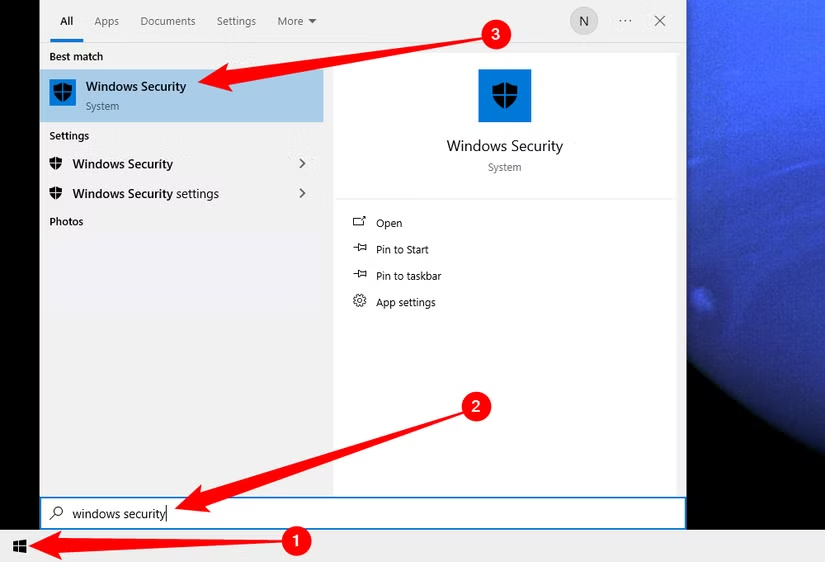
To get started, launch Windows Security on your PC. Do this by opening the "Start" menu, searching for "Windows Security", and clicking the app in the search results.
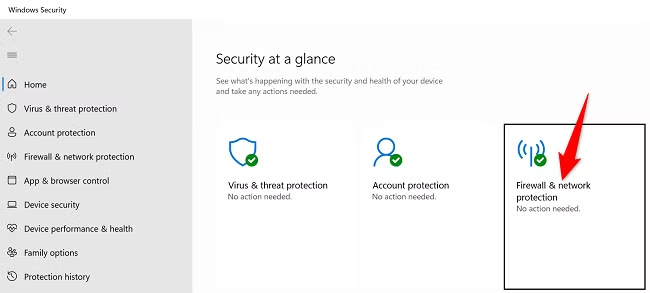
On the Windows Security window, click "Firewall & Network Protection."
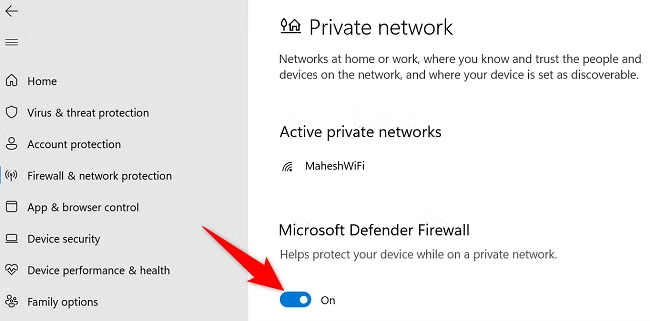
On the "Firewall & Network Protection" page, select your network profile. To disable the firewall for your current profile, you'll see "Active" next to that profile, so click that option.

In the "Microsoft Defender Firewall" section, toggle off the option.
Select "Yes" in the "User Account Control" prompt, and your Windows firewall is now disabled. You may now continue your troubleshooting, testing, or other similar tasks.
3.Disable SmartScreen
SmartScreen settings are located in the Windows Security Center interface. Open up the Start menu, then search for and open "Windows Security."
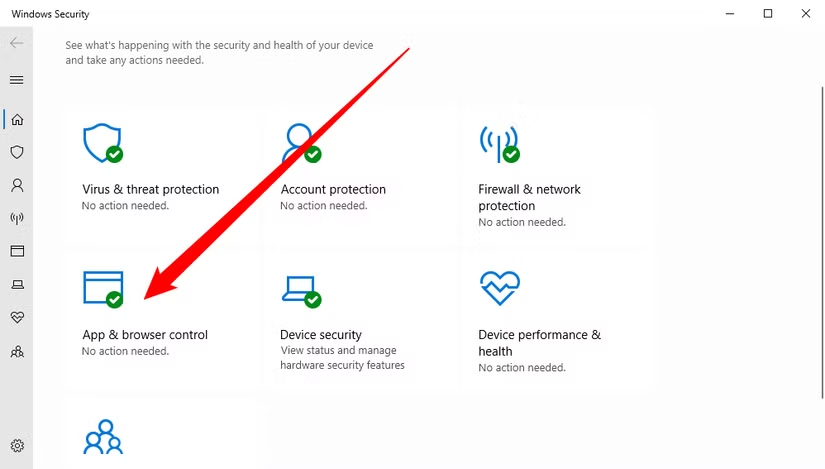
Click the "App and Browser Control" icon in Windows Security to find these settings.
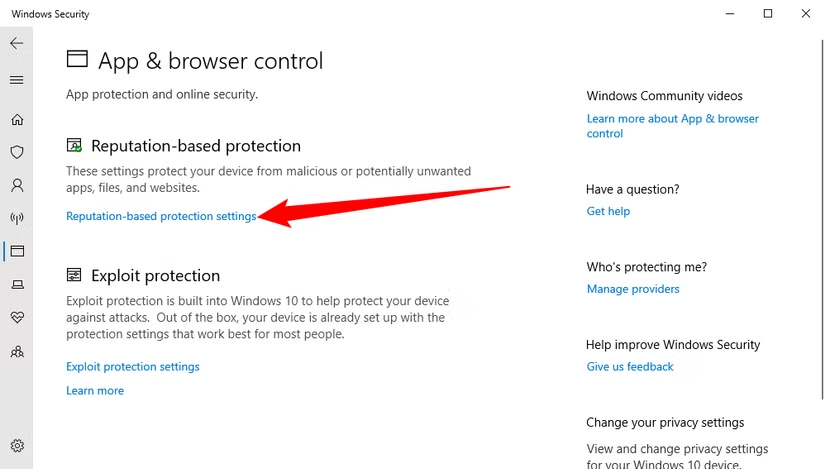
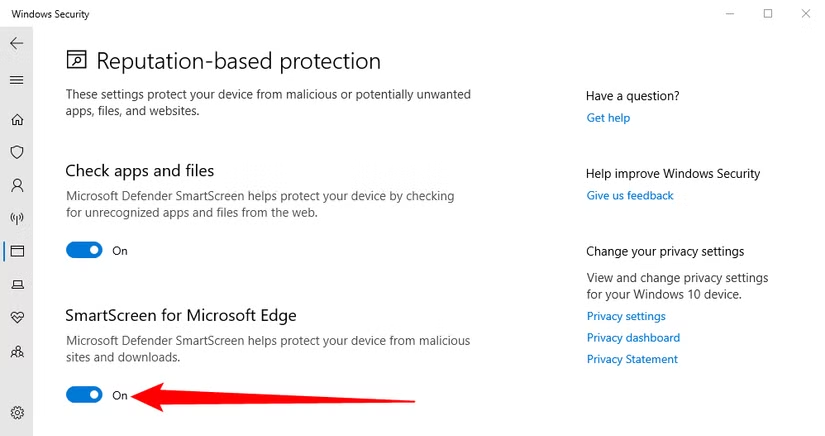
Then click on "Reputation-based Protection Settings."
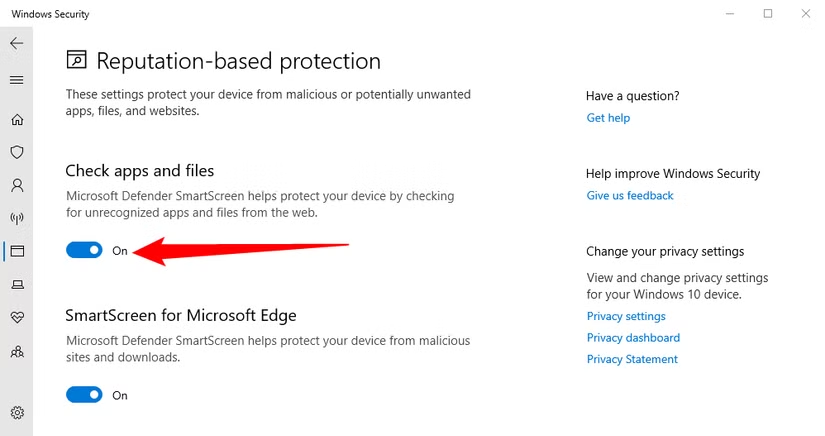
There are four different Windows SmartScreen options, and you can disable them individually.
The "Check Apps and Files" option controls the operating system's SmartScreen filter, which protects you no matter where you download files from. When you try to open a downloaded application or file in File Explorer or another application, Windows will check that application or file and block it or display a warning if it's unrecognized.
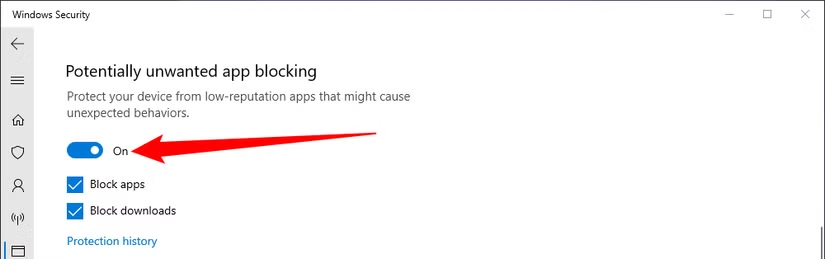
You can also control whether or not Windows Security will block potentially unwanted software. You can disable it completely, or you can set it to block apps or downloads individually.
The "SmartScreen for Microsoft Edge" option controls the SmartScreen filter build into the Microsoft Edge browser. It blocks malicious websites and downloads, but only in Microsoft Edge.
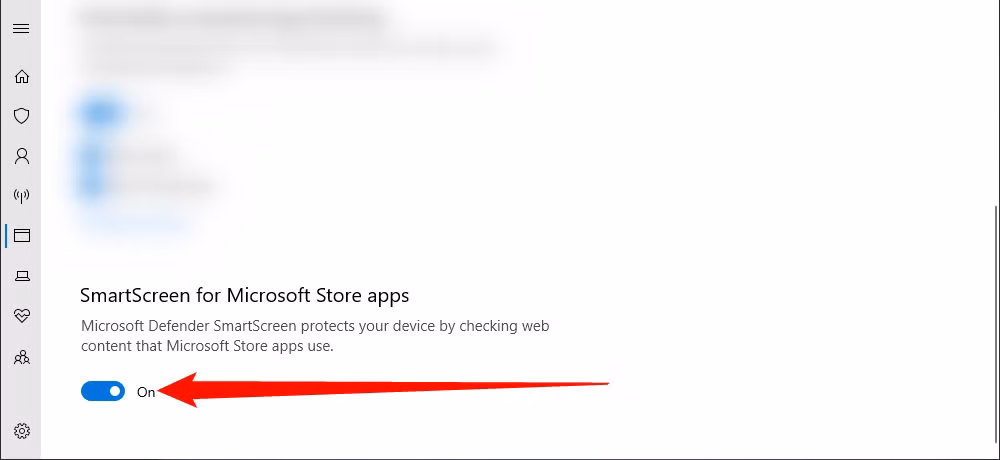
The "SmartScreen for Windows Store apps" filter is used when apps you download from the Windows Store access web content. It warns you before those apps load dangerous content.
4.Disabling Core Isolation
The most straightforward way involves Windows Security’s built-in interface:
1. Open Windows Security
- Click on the Start Menu or press Windows key.
- Type "Windows Security" and select the app from the results.
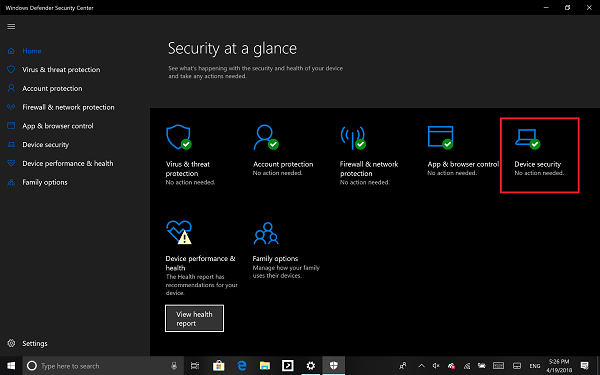
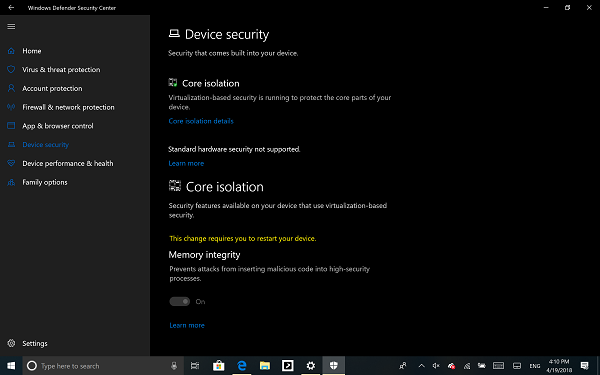
2. Navigate to Device Security
- Within Windows Security, click on Device Security in the left sidebar.
3. Access Core Isolation Details
- Under the "Core isolation" section, click Details.
4. Turn Off Memory Integrity
- In the new window, toggle Memory Integrity off.
- Confirm the change when prompted. Windows might request a restart to apply changes.
5. Restart Your Computer
- Save all work and restart your system to disable Core Isolation.